This year I decided to do something I have never done before. I made the boys their Halloween costumes! And I learned how to do some basic sewing in the process.
Ryan declared very early on that he wanted to be Leonardo (because he is the leader) and that Patrick had to be Raphael (because Red is one of his favorite colors). Ninja turtles are super popular right now, so I had plenty of options for buying one, but I decided to make it myself for the following reasons:
1. The store bought ones were a little cheesy.
2. Knowing how popular the turtles are, I also knew that there would be a million little boys in the same costume. So I wanted them to be a little bit different.
3. Ryan is in big kid sizes and Patrick is in young toddler sizes, so even if I did buy them at the store they would be in different costumes. I could not find a costume in a size 24 mo and size 6 that were matching, and appropriately Leo and Raph.
4. My mom use to make our costumes when we were kids, I wanted to continue that tradition.
Thank goodness for Pinterest. I was able to search TMNT costumes and found many bloggers with step by step directions. I needed all the help I could get. I picked this particular tutorial because it was very detailed and I felt like I could actually do it.
I did need to employee the help of my mother. I can not sew, haven't done it since 8th grade home-ec, and this costume required a decent amount of sewing. I pretty much following the bloggers directions step by step. I also bought white sweat pants and shirts from Amazon and then used RIT fabric dye to get them green. I mixed the Kelly Green and the Dark Green color to try to get a little bit darker and more turtle like then the one in the tutorial. At first I was afraid the color came out too dark, but once it was put together I think it was perfect.
I also decided to buy the boys turtle shells off of Amazon instead of making the shells because I wanted something a little more sturdy. Dress up clothes go well beyond Halloween in our house, so it was worth the money to have turtle shells they can play with all year round.
I was able to buy all of the supplies at AC Moore or on Amazon. Once I had everything together, the work did not take long. One evening I dyed the sweats and washed/dried them to be ready for the the next evening. I decided to use the stove top method for dying the clothes. I thought it was the quickest and the cleanest way to do it. I was nervous to put the dye through my brand new washing machine. I was happy with the stove top results. Then it took my mom and I a few hours the second night to cut the fabrics, pin everything in place, stuff the chest, and sew on all the pieces.
The costume turned out perfect. I was happy and the boys were even happier! They looked adorable and we now have a simple turtle costume in our dress up box for playtime. Thanks again The Scrap Shoppe Blog for the inspiration and tutorial on a great boys Halloween costume.
Tons of pictures coming soon!
The Taynors

Showing posts with label DIY. Show all posts
Showing posts with label DIY. Show all posts
Thursday, November 12, 2015

Friday, May 8, 2015
Home Improvements
We have been in the house now for just over 5 months, and its slowly starting to feel a little bit more like home. I frequently take a step back and appreciate everything we have - if you asked me 6 years ago when we got married what my goals and dreams where, I would have said to have a couple of kids and move into a big house in a beautiful neighborhood. Well, it has happened. I can easily get caught up in the house to-do list and impatient to do projects in every single room, but the bottom line is my dreams have been coming true one step at a time. When I look at it that way, suddenly the living room furniture doesn't seem so important.
But for the sake of blogging, talking about what we have already done to the house and what our future plans are is way more fun!
Since we moved in, we haven't done any major products or reno, its been all about the small details.
Let's start with the half bathroom. We did this before moving in, but we have added some of the little decor touches. Mike did all the work himself with a little bit of help from our father's. I absolutely love the floor we picked. Its the tile that looks like wood. Its easy to clean, looks great, and is different than regular bathroom tile. It's pretty much done, the only thing on my wish list to still do is add crown molding one day. We have very high ceilings, so the big moldings would look great. I posted about this bathroom back when we moved in, but here is a reminder.
Before:


After:


 Old:
Old:

Our master bedroom we haven't done much with. It doesn't make sense to put money into it now when we know we want to do a total redo in the next few years. The one thing we couldn't live with though was the carpet in the bathroom, so we tore that up and luckily the tiles under the carpet where in good shape. It was a hard process to get all the glue off the floor, but along with some fresh paint it makes such a big difference in the room. We did the same thing in the boys bathroom. Other than that, we are leaving it be for now until we can do the remodel we want!
Before:


After:


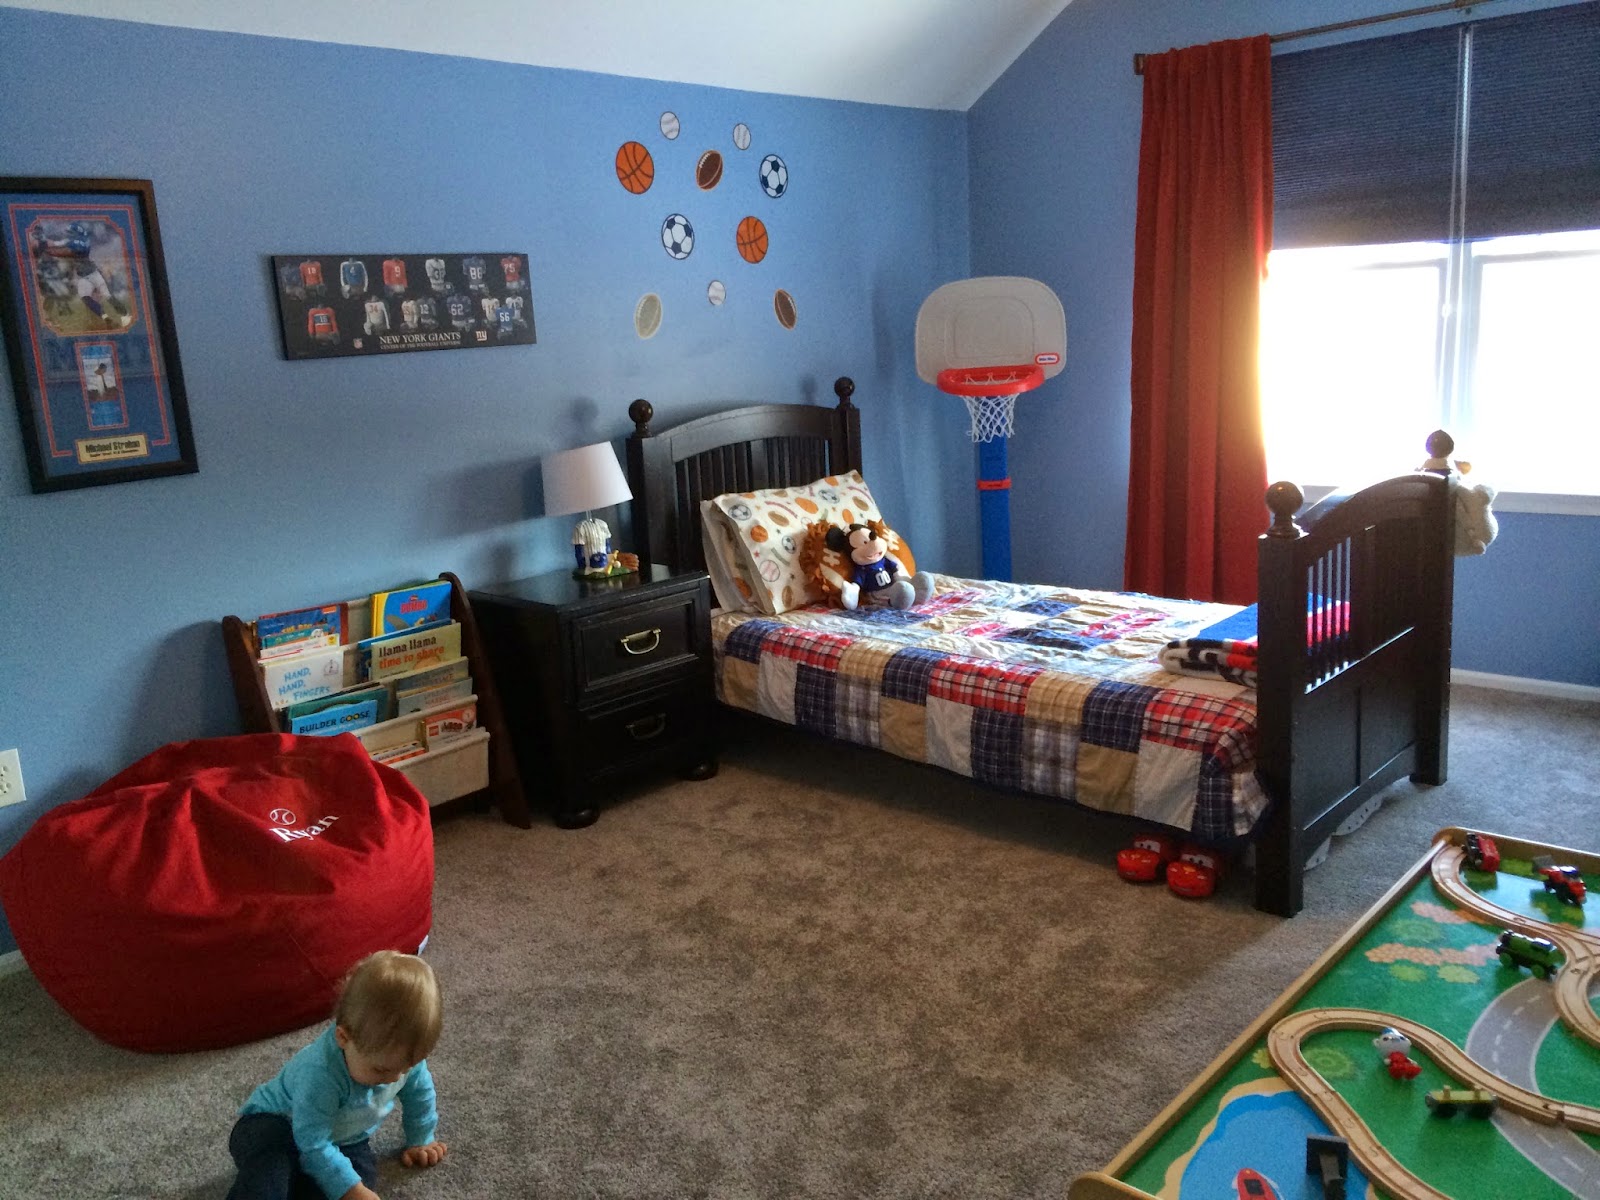
Ryan's room is more of the same. Fresh carpets, paint, and the stuff from his old room. I added a few new things like his new beanbag chair and book shelf since he has more room here, but no major work.
Before:

After:


After:


After:


After:

But for the sake of blogging, talking about what we have already done to the house and what our future plans are is way more fun!
Since we moved in, we haven't done any major products or reno, its been all about the small details.
Let's start with the half bathroom. We did this before moving in, but we have added some of the little decor touches. Mike did all the work himself with a little bit of help from our father's. I absolutely love the floor we picked. Its the tile that looks like wood. Its easy to clean, looks great, and is different than regular bathroom tile. It's pretty much done, the only thing on my wish list to still do is add crown molding one day. We have very high ceilings, so the big moldings would look great. I posted about this bathroom back when we moved in, but here is a reminder.
Before:


After:


 d
d
We choose to do carpet on the stairs, the second floor, and the family room. I personally find carpet on the second floor much easier to clean, and with young kids we are always playing on the floor so its a little more cozy. We picked a neutral grayish color to do throughout the carpet space. You can see below its a huge improvement over the green color that was in our master bedroom (or blue from Ryan's room, brown in the hallways, pink in the guest room, etc).
New:


Our master bedroom we haven't done much with. It doesn't make sense to put money into it now when we know we want to do a total redo in the next few years. The one thing we couldn't live with though was the carpet in the bathroom, so we tore that up and luckily the tiles under the carpet where in good shape. It was a hard process to get all the glue off the floor, but along with some fresh paint it makes such a big difference in the room. We did the same thing in the boys bathroom. Other than that, we are leaving it be for now until we can do the remodel we want!
Before:

After:

Patrick's room was a pretty easy fix. The new carpets, fresh paint, curtains, decor from his old room. It felt pretty much like his room right away. The only thing I have left to change in his room is the fan. It works for now, but I would like to update it eventually.
Before:


After:


Ryan's room is more of the same. Fresh carpets, paint, and the stuff from his old room. I added a few new things like his new beanbag chair and book shelf since he has more room here, but no major work.
Before:

After:


The boys bathroom is similar to ours. The gross carpets needed to come up immediately. Then I added some color with fun kids bathroom stuff. But really I didn't want to put a lot of work or money into it until we made plans for the future. It works perfectly for now, so it is not on the top of my priority list. The only thing I have added since taking these pictures are canvas's on the wall. I have one of each boy as babies in their hooded towels fresh out of the bath. I did them in black and white. They came out really cute. Curtains, a new light fixture, and colorful bathroom prints for the walls are still on the current to -do list.
Before:

After:


Next we are onto the master bedroom. The before pictures show you that it does not look at all like a master bedroom. We haven't done much here except the paint and carpet like everywhere else. But just adding our furniture and some curtains made a huge difference. In our room I know exactly what I want to add, its just a matter of finding it and making a purchase. I want a very big floor length rustic mirror for between the bathroom and closet doors, I want a new fan/light fixture, I want a wood sign that has our wedding lyrics on it, and I want a sepia colored print for between the two windows. Since no one is really in our bedroom, those wish list items keep getting pushed down the list. At least I know what I want.
Before:


After:


Last room of this post is the guest bedroom. Its pretty basic, but we are doing a good job of keeping is as a usable guest bedroom and not letting it become a junk room. So far we have had overnight guests twice and we have my inlaws staying this weekend. Its simple. I want to add nice curtains, side tables, a new fan... but again they are little things we can add as we go. There is no real rush other than my OCD to have things finished.
Before:

After:

Clearly, we have spent a lot of time upstairs. I think the made reason for that is because the projects upstairs were quick and easy fixes. Little things we have added slowly. We didn't need to do any total renovations that are super expensive. We will eventually renovate both bathrooms, but the function is fine for now. Downstairs is another story.
I have a list of things I want to do throughout the house. I want to update every light fixture in every room. I would love to change the hardware on every door so it matches and is updated. It would look awesome to have more crown molding and bigger baseboard molding. But all of these fixes don't really serve a purpose other than looks and can be very expensive... so for now I need to be patient.
Then we have the BIG project wish list:
Hardwood floors throughout the first floor
Living room built in cabinets, shelves and desk area
Kitchen remodel cabinets/counters
Finish the basement
Then the outside of the house is a whole different level of work. We love the space... but it needs a lot of TLC. Front landscaping, seeding, retaining walls, new patio space, power washing, fix the swing set, start out own garden. I think I will leave the yard for its very own post.
But the bottom line, we are lucky to have this long wish list. Every time I pull in the neighborhood, I get excited about living here. Now that the weather is nice, I look forward to walking around and meeting more families that live here. I feel very blessed to call this our new home!
Friday, February 6, 2015
Winter ONEderland
My baby shower for Patrick was in a snow storm, he was born in a snow storm, most of his early doctors appointments were in snow storms... so it was only fitting to do his first birthday as a snow theme. I had a lot of fun with the Winter ONEderland party.
We were able to have the party at our new house (yay! one of the reasons I was so ready for more space... to host parties). I invited our close friends that had kids and otherwise it was mainly family. We had about 40 people attend.
Decor-
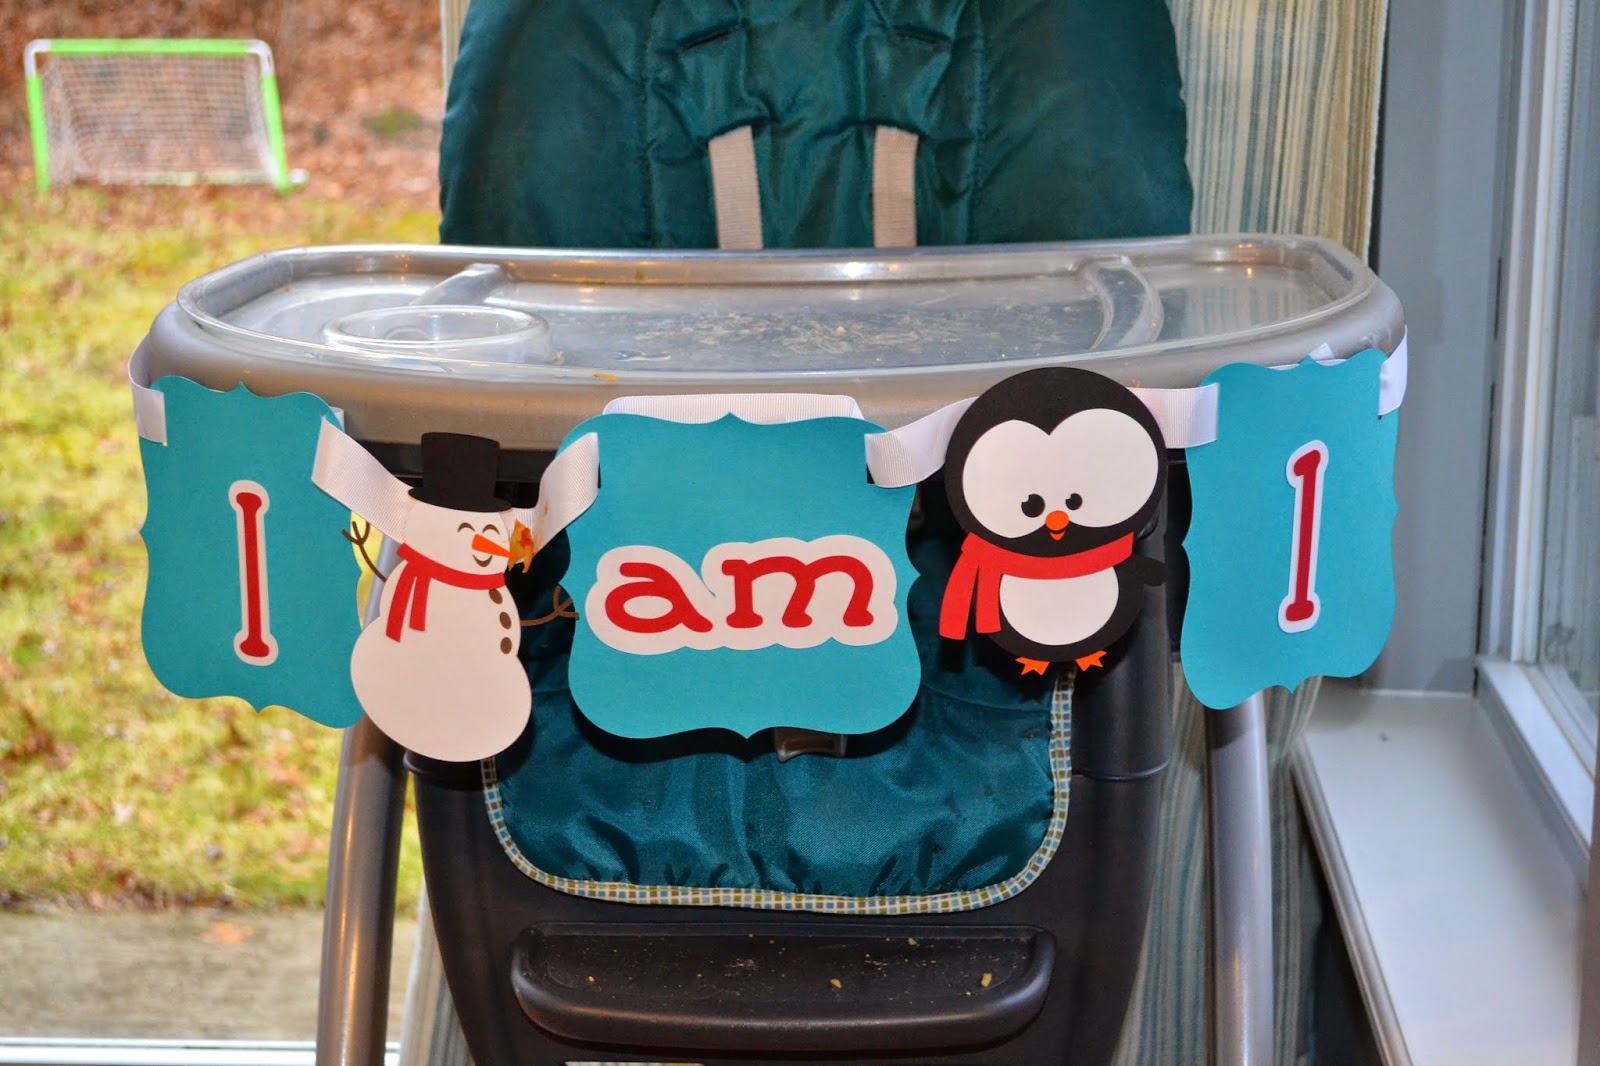
I wanted everything to be in the aqua, red and white theme. So I started by contact a friend of a friend who does print work and she set the theme by designing the invitations. Once we did the invitations, all the other details were easy to follow. Tara at To a T did an awesome job doing all of the little details I love about parties but just can't do myself (birthday banner, high chair banner, food tents, invitations, cupcake toppers, and thank you cards).



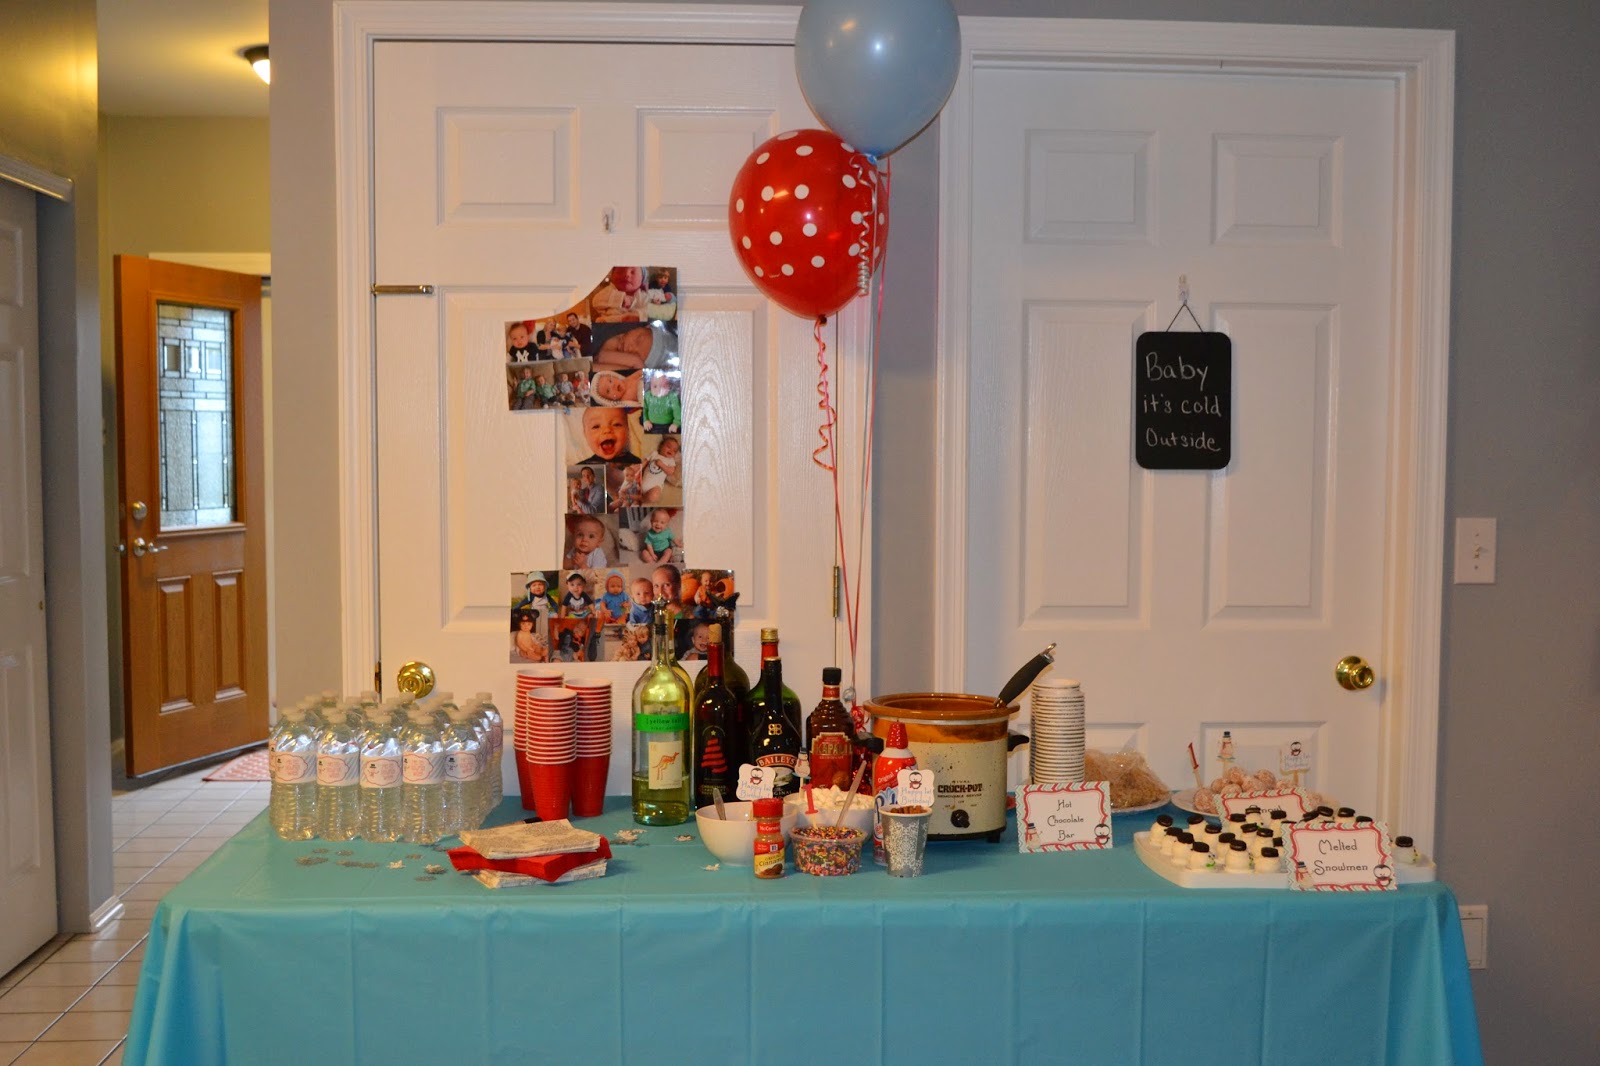
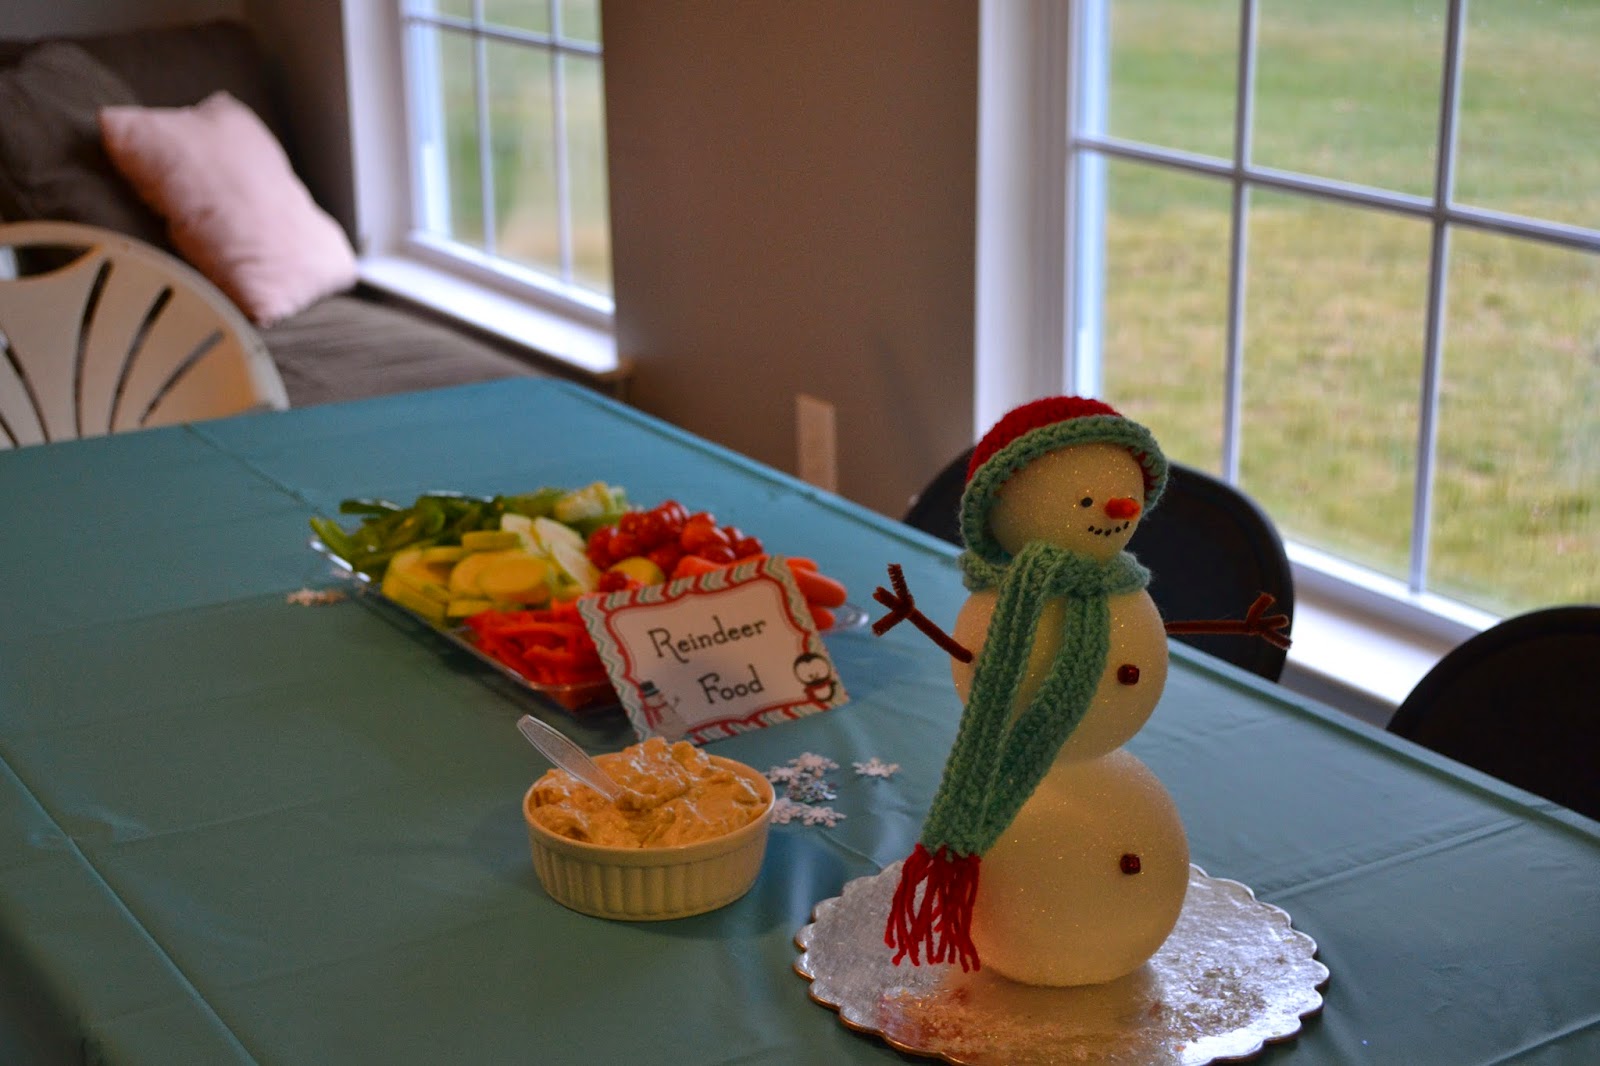
Besides the paper signs, my sister in law made a super cool pine cone garlin and my mom and sister made me snow man center pieces. Then I just added some snow flakes and balloons and we had ourself a winter onederland. I also made a "1" photo collage of my favorite pictures from throughout the year. I did it for Ryan's first birthday and I still love looking at it. Favors I went through Oriental Trading and just got a bunch of random winter themed things like mini footballs, stickers, stamps, and then filled it with silver hersey kisses.





Food-
This was pretty easy for me. I knew I wanted to do a chili bar and a hot chocolate bar and I wanted everything to fit within the winter theme. I made three different types of chili (white chicken and bean, traditional chunky chili, and pumpkin chili with ground turkey). Then I added all the fixins (cheese, sour cream, hot sauce, jalapenos, crushed fritos, cilantro, green onions) and let everyone have a chili tasting. This was super easy because I was able to prep all the food ahead of time, let it just cook in the crockpots all day, and they were ready to be served whenever people wanted to try them. There was no official sit and eat time, it was a help yourself style dinner. I included a side salad, macaroni and cheese, and corn bread to go along with the chili.
Dessert was also pretty simple- I had a friend make the cupcakes for the guest and a smash cake for Patrick. Both were delicious. Besides the cupcakes, I had powdered munch kins for "snowballs" and my mother in law brought very yummy Melted Snowmen (kind of like a cake pop type dessert). But the most important part of my dessert options was the Hot Chocolate Bar. I made a huge batch of home made hot chocolate and let it stay warm in the crock pot. Then I put out all kinds of fun things to mix with it... mini chocolate chips, marshmallows, whipped cream, cinnamon, cinnamon sticks, candy canes, and of course Baileys for the adults. I think it was a success- most of the stuff was gone by the end of the party.


We all had a great time! Here are some pictures from the actual party-


We were able to have the party at our new house (yay! one of the reasons I was so ready for more space... to host parties). I invited our close friends that had kids and otherwise it was mainly family. We had about 40 people attend.
Decor-
I wanted everything to be in the aqua, red and white theme. So I started by contact a friend of a friend who does print work and she set the theme by designing the invitations. Once we did the invitations, all the other details were easy to follow. Tara at To a T did an awesome job doing all of the little details I love about parties but just can't do myself (birthday banner, high chair banner, food tents, invitations, cupcake toppers, and thank you cards).
Besides the paper signs, my sister in law made a super cool pine cone garlin and my mom and sister made me snow man center pieces. Then I just added some snow flakes and balloons and we had ourself a winter onederland. I also made a "1" photo collage of my favorite pictures from throughout the year. I did it for Ryan's first birthday and I still love looking at it. Favors I went through Oriental Trading and just got a bunch of random winter themed things like mini footballs, stickers, stamps, and then filled it with silver hersey kisses.
Food-
This was pretty easy for me. I knew I wanted to do a chili bar and a hot chocolate bar and I wanted everything to fit within the winter theme. I made three different types of chili (white chicken and bean, traditional chunky chili, and pumpkin chili with ground turkey). Then I added all the fixins (cheese, sour cream, hot sauce, jalapenos, crushed fritos, cilantro, green onions) and let everyone have a chili tasting. This was super easy because I was able to prep all the food ahead of time, let it just cook in the crockpots all day, and they were ready to be served whenever people wanted to try them. There was no official sit and eat time, it was a help yourself style dinner. I included a side salad, macaroni and cheese, and corn bread to go along with the chili.
Dessert was also pretty simple- I had a friend make the cupcakes for the guest and a smash cake for Patrick. Both were delicious. Besides the cupcakes, I had powdered munch kins for "snowballs" and my mother in law brought very yummy Melted Snowmen (kind of like a cake pop type dessert). But the most important part of my dessert options was the Hot Chocolate Bar. I made a huge batch of home made hot chocolate and let it stay warm in the crock pot. Then I put out all kinds of fun things to mix with it... mini chocolate chips, marshmallows, whipped cream, cinnamon, cinnamon sticks, candy canes, and of course Baileys for the adults. I think it was a success- most of the stuff was gone by the end of the party.
We all had a great time! Here are some pictures from the actual party-
Subscribe to:
Posts (Atom)